
How to Choose and Install MgO Boards: A Step-by-Step Guide for 2025
- JP Group MagMatrix Brand
- Nov 24, 2025
- 12 min read

The U.S. magnesium oxide board market is on track to hit $2,153.2 million by 2025. Market experts predict a steady 3.9% annual growth through 2032.
MgO boards are changing the face of construction as the top green building material today. These boards bring exceptional durability and versatility to modern projects. The boards resist extreme heat, moisture, and noise. They also pack impressive strength with impact resistance above 5KJ/m2. Water exposure doesn't cause these magnesium oxide MgO boards to warp, swell, or break down - unlike traditional materials.
These boards have become a top choice for residential and commercial projects. Their unique mix of fire resistance, water resistance, and eco-friendly properties makes them stand out. Your construction results can improve by a lot if you know how to pick and install these versatile boards, whether you're a DIY fan or professional contractor.
This piece gives you a detailed walkthrough about choosing and installing MgO boards for your project. We cover everything from picking the right type to steering clear of installation mistakes. Our practical, step-by-step guide helps you get professional results.

Understanding MgO Boards and Their Benefits
Magnesium oxide boards are one of the most important breakthroughs in construction materials that combine durability with versatility for modern building needs. Let's look at these innovative panels and why builders love them more each day.
What is a magnesium oxide (MgO) board?
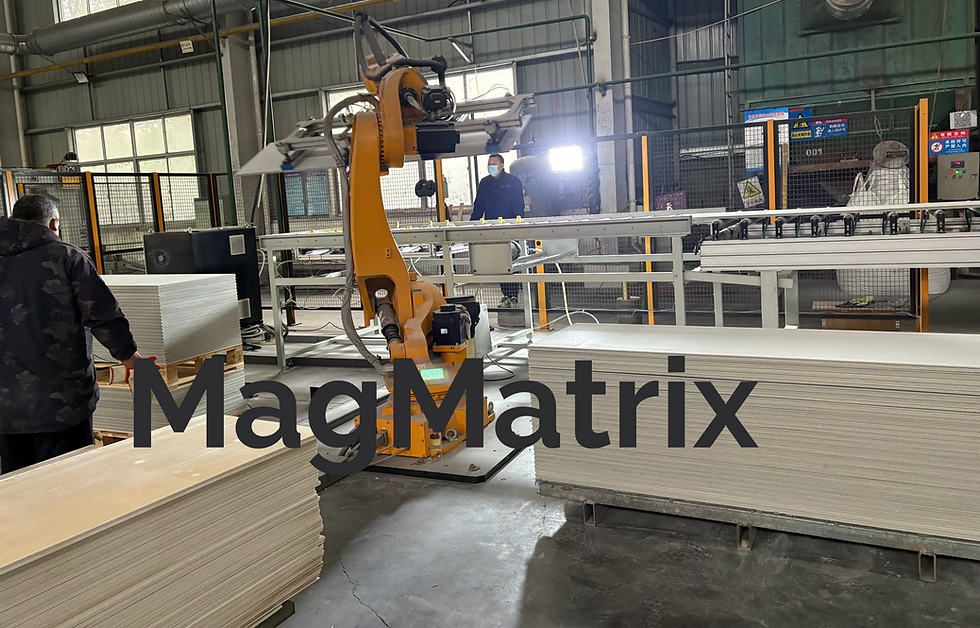
Magnesium oxide board is a next-generation construction material we created from magnesium oxide, a mineral that forms exceptionally strong bonds between magnesium and oxygen atoms. Manufacturers make these boards by mixing magnesium oxide with various minerals and reinforcing materials. They cast them into thin cement panels under proper curing procedures.
The manufacturing process usually combines magnesia (another name for magnesium oxide) with these components:
· Magnesium sulfate to improve strength
· Perlite to maintain lightness
· Wood fiber or cellulose for flexibility
· Glass fiber mesh for reinforcement
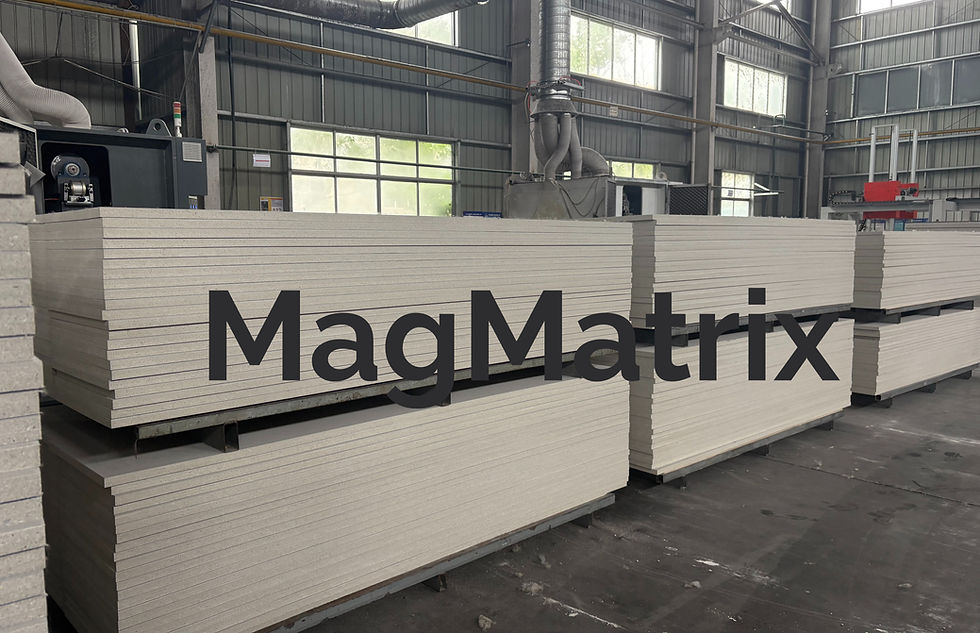
The finished product comes as a light gray, white, or beige board available in various sizes, thicknesses, and grades based on its use. You'll find smooth face, rough texture, utility, and versatile grades with different densities and strengths.
MgO boards differ from traditional drywall because they don't have paper facing and consist mainly of inorganic materials. This makes them naturally more durable.
Key advantages over traditional materials
MgO boards stand out from conventional construction materials in several ways. These boards excel in fire resistance—classified as A1 non-combustible, they can handle temperatures up to 1200°C without visible flames. Fire tests show zero flame spread and smoke development ratings.
Moisture resistance is another standout feature. Regular gypsum boards fall apart when wet, but MgO boards keep their shape even after long water exposure. Lab tests prove they work perfectly after 72 hours underwater. These boards absorb just 0.34% moisture compared to regular gypsum boards at 3%.
MgO boards show impressive structural performance:
· Higher flexural strength than Portland cement panels
· Greater resistance to fastener withdrawal
· Better impact resistance than gypsum
· 20-30% lighter than other cement-based boards
The boards help the environment too. Their production captures carbon dioxide and uses only 25-50% of the energy needed for traditional materials like Portland cement or slaked lime. The boards are safe for installers and occupants since they don't contain asbestos, formaldehyde, ammonia, silica, or benzene.
A unique microporous structure gives these boards excellent thermal insulation and sound reduction properties. A standard 6mm board cuts airborne sound by 29dB, while complex systems can reach over 42dB.
Where MgO boards are commonly used
MgO boards work well in residential, commercial, and industrial projects. Builders use them instead of traditional gypsum drywall, cement boards, and other panel materials.
Inside buildings, these boards serve as:
· Wall and ceiling coverings
· Firewall installations that need high safety ratings
· Bathroom and kitchen walls because they resist moisture
· Sound reduction panels in studios or theaters
Outside buildings, they work great as:
· Wall sheathing and siding materials
· Fascia and soffit installations
· Roof decking with better fire protection
Special uses include tile backing (backer board), substrates for coating systems, shaft liners, and area separations. These boards are perfect for high-humidity environments, coastal regions, and places with strict fire safety rules.
The Taipei 101 skyscraper uses these boards for interior walls, fireproofing beams, and sub-floor sheathing. They were even chosen as official construction materials for the 2008 Summer Olympics, showing they meet the highest building standards.
How to Choose the Right MgO Board for Your Project
Your MgO board choice can make or break your project's success. A good grasp of key factors will help you pick the right one that lasts longer and works better. Here's what you need to know about choosing the perfect MgO board.
1. Identify your application type (wall, floor, ceiling)
Start by figuring out where you'll use the board. Standard wall applications work well with 10mm to 12mm thick boards. You'll need thicker 15mm to 20mm boards for walls that need better impact and fire resistance. Ceiling installations are different - 8mm or thicker boards work great with light gage steel or wood frames. Drop ceilings can use 2mm or 6mm boards. Subfloors need 19mm (3/4") thick panels. These can handle loads up to 320 psf with joists 24" apart.
2. Choose between MgSO4 and MgCl2 boards
This choice makes a big difference in how your boards perform. MgSO4 (magnesium sulfate) boards resist moisture better because they don't contain chlorides. Metal-framed constructions benefit from these boards since they won't cause corrosion. MgCl2 (magnesium chloride) boards are cheaper but need proper soaking treatment to prevent metal fastener corrosion. MgSO4 boards might cost more upfront, but they need less maintenance over time.
3. Think over thickness and density requirements
You'll find MgO boards from 3mm to 40mm thick. Pick one that matches both your structural needs and application requirements. Dense boards last longer and offer more strength but they're tougher to handle. High-traffic spots like apartment stairways, school hallways, and hospitals need denser boards for better durability.
4. Check for certifications and safety ratings
Make sure your MgO boards pass strict industry testing. Look for these certifications:
· ICC-ES certification (like ESR-5193 & ESR-5194) that meets IBC and IRC standards
· UL, Intertek, and QAI designs certifications
· ISO-certified manufacturing
· Fire ratings that follow ASTM E84 or EN 13501-1 standards
These certifications show that boards meet building codes and safety standards, especially for strength, durability, and fire resistance.
5. Assess moisture and fire resistance needs
Your specific performance needs matter too. MgSO4 boards handle high-humidity environments better. All MgO boards take in some moisture (about 20%), but they naturally dry out when conditions improve without losing strength. Fire resistance needs boards with A1 non-combustible ratings that can handle over 750°C for more than 30 minutes.
6. Match board type with environmental conditions
The installation environment plays a crucial role. MgSO4 boards work best in wet areas like bathrooms, kitchens, and basements. Coastal areas and humid regions need chloride-free options to protect metal parts from corrosion. MgCl2 boards might be enough for basic indoor projects in dry areas, especially if you're watching your budget.
These factors will help you pick MgO boards that work best for your project. The right choice means better durability, safety, and value throughout the installation's life.
Tools and Materials You’ll Need for Installation
Getting the right tools and materials ready is significant for a successful MgO board installation. Your project needs proper preparation to achieve professional results with a smooth workflow.
Cutting tools and safety gear
MgO boards require specific tools to cut and shape them precisely. A utility knife with carbide blades works best to score thinner boards (3-6mm). Thicker MgO boards need a circular saw with a diamond-tipped blade or a carbide-tipped blade designed for fiber cement. A jigsaw with a carbide-grit blade gives you more flexibility for curved cuts and fixture cutouts.
Safety equipment plays a vital role when you work with these materials. You need these basic items:
· Respiratory protection (N95 mask or respirator) that blocks dust particles
· Safety goggles that shield your eyes from debris
· Work gloves that protect against sharp edges
· Ear protection for power tool use
· Long sleeves and pants that minimize skin exposure
MgO boards create fine dust during cutting. You should cut them outdoors or in areas with good ventilation. Tools with dust collection systems help reduce airborne particles.
Fasteners and adhesives
The right fasteners make a big difference in MgO board installation. Stainless steel screws resist corrosion well, which matters most with MgCl2-based boards. Self-tapping screws with coarse threads designed for cement board installation work great for standard uses.
Your screw length should be 2.5 times the board thickness. To cite an instance, 12mm boards need 30mm screws for secure attachment. Place fasteners 200mm apart along the perimeter and 300mm in the field area to get optimal support.
Construction-grade polyurethane adhesive bonds MgO boards excellently. Metal frame installations need adhesives made for non-porous surfaces. High-moisture environments require waterproof adhesives.
Joint sealants and finishing materials
Joint treatment creates a seamless surface and blocks moisture after board installation. Start by using alkaline-resistant fiberglass mesh tape made for cement-based boards. This tape prevents cracks along seams and corners.
Standard drywall mud doesn't work with MgO boards. Use these instead:
· Polymer-modified cement-based compounds made for cement boards
· Flexible acrylic-based joint compounds with better adhesion
The MgO board surface needs an acrylic primer suitable for alkaline substrates before finishing. This primer neutralizes the board's natural alkalinity and helps finishes stick better.
MgO boards work well with many finishes including paint, wallpaper, tile, stone veneer, or decorative plaster. High-quality acrylic latex paint designed for high-pH surfaces works best for painting.
Your application might need corner beads for external corners, L-trim for exposed edges, and control joint accessories for large walls to handle thermal expansion. These accessories should be corrosion-resistant, made from vinyl, PVC, or stainless steel.
Having all these tools and materials ready before you start will save time and help you achieve better results with your MgO board project.
Step-by-Step Installation Process for MgO Boards
MgO boards need proper installation with close attention to detail. My years of working with these versatile building materials have taught me that a structured approach works best. Here's a complete guide to help your project succeed.
1. Prepare the surface and framing
Your installation site must be clean and dry. The substrate area needs to be free of dirt, dust, oil, or debris since these affect how well things stick. Wall installations require level, straight, and square framing to give enough fastening surface where walls meet.
The right spacing between framing members makes all the difference. MgO boards need installation on 16" centers, and joists must fully support all board edges. You might need a moisture barrier in humid spaces before placing your boards.
Here's something people often miss: Let your MgO boards adjust to the room's environment for at least 48 hours before installation. This step prevents warping or expansion later, which is especially important in humid areas.
2. Measure and cut the boards
Take measurements where you'll install the board. A tape measure gives you accuracy, and you should mark cutting lines clearly with pencil or chalk. The best results come when you plan your layout to use everything and put cut edges against room edges.
Here are my recommended cutting methods:
· Thin boards (≤8mm): Score the marked line several times with a utility knife, then apply light pressure to snap it
· Thicker boards (≥10mm): Use a circular saw with carbide-tipped blade at medium speed
· Curved cuts or openings: A jigsaw works best
Safety comes first - wear goggles, gloves, and a dust mask to protect from particles. A stable cutting surface prevents movement that could lead to bad cuts.
3. Fix the boards using screws or nails
Center board edges on framing members with at least 15mm overlap width. Leave about 1/8 inch between perimeter walls and the MgO board for expansion.
These fastening tips will help:
· Begin at the board's center and work your way out to reduce stress
· Place screws 200mm apart along edges and 300mm in field areas
· Keep fasteners 10-15mm from board edges and 15-20mm from cut edges
· Use self-tapping screws with a variable speed, high-torque drill
Don't drive screws too deep - it substantially reduces holding strength. Screws should sink 0.5-1mm into the board surface without cutting through the fiberglass mesh.
4. Seal joints and edges properly
Fiberglass mesh tape goes over all board joints after installation. This makes connections stronger and stops future cracks. The tape should sit centered on the joint with equal stick to both boards.
Mix your joint compound well and let it rest 15 minutes before use. You'll need three layers:
1. Original layer - pressed level with the board
2. Second layer - extends 50mm from joint edge
3. Final layer - smooth and level, extending another 50mm
Each layer needs to dry fully before the next goes on. Once the final layer cures, sand lightly until it's even with the board.
5. Apply finishing layers if needed
A flawless finish starts with an acrylic-based primer that works with MgO boards. This creates an even base and helps other finishes stick better.
Paint primer goes on after joint treatment, and you'll usually need just one coat of paint afterward. To name just one example, see how plaster needs a primer coat before the fiber-mesh tape, then regular plastering techniques follow.
High-traffic or damp areas might need a waterproof sealant over the finished surface. This step improves durability and makes cleaning easier down the road.
Common Mistakes to Avoid During Installation
MgO board installation can get pricey when even experienced professionals make mistakes. You can save time and resources by knowing these potential risks before starting your project.
Skipping adjustment before installation
One of the most serious mistakes is failing to adjust your MgO boards properly. These boards need at least 48 hours to adjust to their installation environment. This significant step helps prevent warping, expansion, and contraction problems after installation. The best practice involves storing boards in their final location where temperature conditions match their intended environment. Buildings with HVAC systems need the system running at least 72 hours before bringing the boards inside.
Temperature should stay between 5°C and 35°C with consistent humidity levels throughout the entire process.
Using incorrect fasteners or spacing
Poor fastener choices can create corrosion problems or weak support. 316-stainless steel fasteners provide the best corrosion resistance. Fasteners need proper spacing - at least 4" from corners, 6" apart along perimeters, and 12" intervals in the center. Place fasteners about 9/16" from board edges. Start fastening from one side and work your way to the opposite side to minimize board stress. Fasteners installed at 45° angles reduce holding strength. Overtightening screws damages the board surface.
Improper sealing of joints and edges
Poor joint treatment creates moisture issues and ruins appearance. Boards need 1/8" gaps between sheets to handle expansion and contraction. Joint compound application requires clean, debris-free joints. Mix compound thoroughly and let it rest 15 minutes before use. Press joint compound firmly onto screw heads for complete coverage.
Fiberglass mesh tape works best on joints. Multiple thin compound layers last longer than single thick layers that might crack.
Exposing boards to moisture before sealing
MgO boards resist moisture but need protection during installation. Keep boards in dry storage conditions. Seal exposed edges right after installation with quality edge sealer or MgO-specific primer. This protective barrier improves moisture resistance and extends board life. High-moisture installations might need extra protection through waterproofing membranes or drainage systems. Unsealed joints and edges let moisture penetrate, which warps boards and weakens their structure.
Cost, Longevity, and Environmental Impact
The total value of MgO boards goes way beyond their purchase price. These boards offer advantages that affect both your wallet and the environment.
Original cost vs. long-term savings
MgO boards cost more upfront, with prices between USD 1.50 to USD 3.50 per square foot. Gypsum boards cost just USD 0.30 to USD 0.70 per square foot. This price gap matters less as time goes by. The exceptional durability of MgO boards means you'll spend less on replacements and repairs, which leads to big savings down the road.
These boards resist water, fire, and pests, which cuts down maintenance costs throughout a building's life. Buildings with MgO boards also tend to have lower energy bills thanks to better insulation. Commercial projects, hospitals, and schools that look at long-term value get their money's worth from MgO boards, even with the higher upfront cost.
Durability and maintenance needs
MgO boards last incredibly long in tough conditions. Lab tests show these panels stay strong even after years of humidity exposure. They barely shrink or change shape over time, and they stay stable and tough against damage.
You won't need much maintenance compared to other materials. These boards keep water out better than alternatives. They stop mold, mildew, and fungi from growing, so you avoid the expensive cleanup that often comes with regular building materials. The boards' special chemistry even protects steel frames from rust, making the whole building last longer.
Recyclability and eco-friendliness of MgO boards
MgO boards shine as environmentally responsible building materials. Making these boards creates half the carbon emissions of Portland cement. The production uses just 25-50% of the energy needed to make traditional materials like calcium hydroxide or Portland cement.
Some MgO boards capture carbon dioxide while being made, which makes them carbon-negative in some cases. You won't find harmful chemicals like asbestos, formaldehyde, ammonia, silica, or benzene in these boards. This makes indoor spaces healthier.
You can recycle MgO boards completely. Construction leftovers (about 5-12% from cutting) turn back into magnesium oxide through heating at 600-1000°C. Broken pieces work great as soil additives by adding nutrients. This complete recycling helps buildings get green certifications and keeps waste out of landfills.
Conclusion
MgO boards have proven themselves as superior building materials in modern construction projects over the last several years. This piece explores these versatile panels that combine exceptional durability with impressive resistance to fire, moisture, and impact. Quality MgO boards will pay off through reduced maintenance costs and longer building lifespans.
Your project's success depends on choosing the right MgO board type. Of course, MgSO4 and MgCl2 boards' differences can substantially affect long-term performance, especially in high-moisture environments. The right thickness, density, and certification requirements should drive your purchasing decisions based on your specific needs.
These materials' performance relies heavily on proper installation techniques. The step-by-step process—from adequate acclimatization to correct fastener spacing and joint sealing—will give a reliable MgO board installation that performs well for years. You can avoid costly repairs by preventing common mistakes like improper sealing or inadequate surface preparation.
MgO boards might get pricey compared to traditional materials, but their extended lifespan and minimal maintenance requirements offer substantial value over time. Their impressive environmental credentials, including lower carbon emissions during manufacturing and complete recyclability, fit perfectly with today's environmentally responsible building practices.
MgO boards are shaping construction's future. Their unique blend of strength, versatility, and eco-friendliness solves many challenges that both DIY enthusiasts and professional contractors face. This piece gives you the knowledge to employ MgO boards' full potential in your next building project. You can create spaces that are safer, more durable, and better for the environment.
Comments